Ultimate Guide to Image Optimization
By 2026, every site that wants a front-page slot in search results is treated like a media company. Pages that ship oversized photos, uncompressed heroes, and untrimmed metadata are penalized twice: by slow Core Web Vitals and by lower rankings for failing to respect image best practices. The good news is that those problems are solvable with a repeatable workflow, not a fleet of designers. This guide pulls together the strategic pillars you need — concept, format, conversion, cropping, and compression — with the right reads and tools to keep your SEO intact.
Think of this as the summary version of a full image optimization program. Each chapter below links out to the deeper article that lives in our blog vault and to the live tool you can use right now. Follow the sequence and you will release cleaner assets, keep page weight low, and multiply the reach of every CTA and product photo on the page.
What is image optimization?
Image optimization is the practice of delivering the smallest possible file that still looks flawless on every screen. It encompasses picking the right format, reducing dimensions to only what is required, stripping metadata that search engines do not need, and letting browsers cache smartly. The goal is to make the browser’s job easy: it should load just enough bytes to fill the viewport without hurting First Contentful Paint.
A quick refresher is available in Best image formats for websites 2026, and you can immediately experiment with quality/size ratios using the Image Compressor.
Key levers that every optimization plan must cover:
- Format Intelligence: Different assets deserve different codecs; a logo loves PNG while a product hero thrives in WebP.
- Responsive Sizing: Serve device-specific dimensions (via srcset or picture) to avoid downloading a massive desktop hero on mobile.
- Metadata and Color Profiles: Strip EXIF unless you truly need it; the same image without profile data can be dozens of kilobytes lighter.
- Lazy Loading + Priorities: Defer non-critical imagery so the hero assets can paint faster.

Best image formats (PNG, JPG, WebP)
Picking formats in 2026 is about trade-offs. PNG remains unbeatable for transparent UI assets, JPG still suits complex photography, and WebP or AVIF are the default for blogs and ecommerce. The more you understand how each codec behaves, the better you can match it to the intent of the asset.

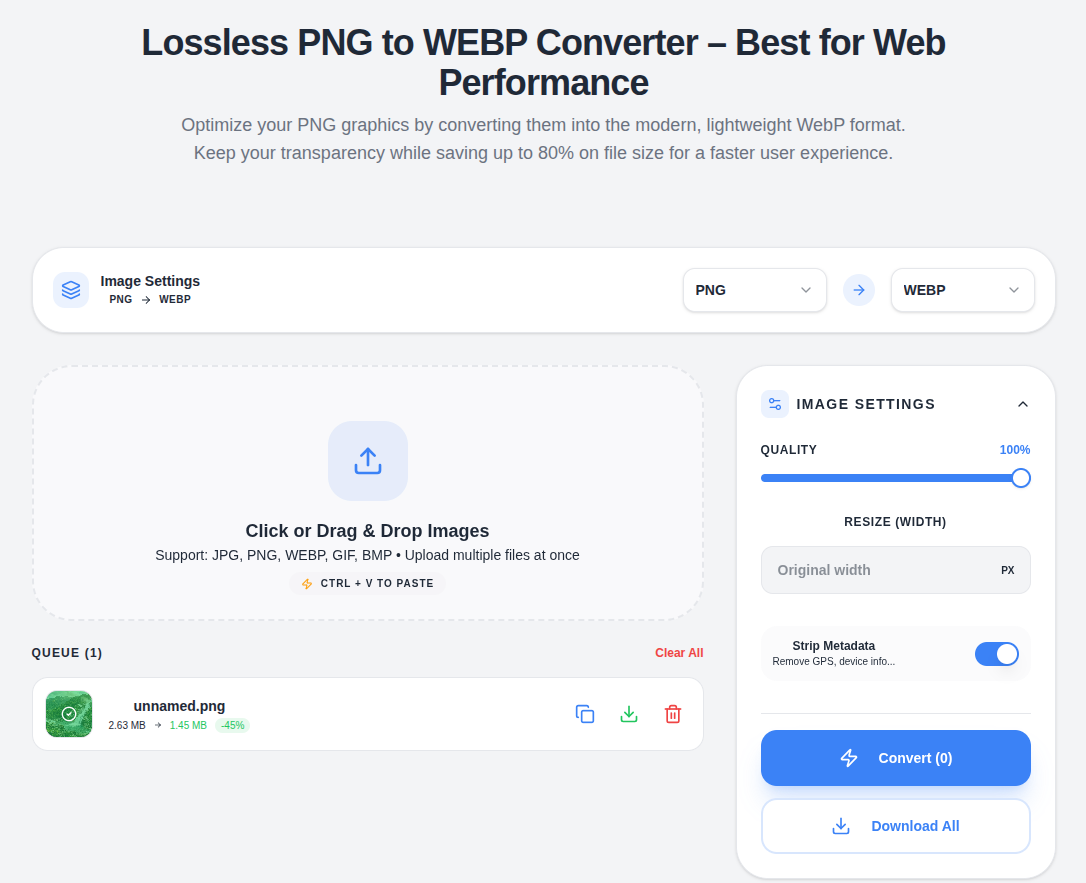
Read the PNG vs WebP comparison to see how these formats stack up on quality, transparency, and decoding speed, then push the conversion that makes sense for your use case with the PNG to WebP converter.
- PNG: Lossless detail. Ideal for fonts with hard edges, logos with transparent backgrounds, and diagrams that must stay vector-sharp.
- JPG: Lossy but universally supported and still lighter than PNG for full-frame photography.
- WebP: A hybrid that covers both photographic and transparent needs while shaving 25–40% off file size versus JPG.
How to convert images to WebP
Converting to WebP is the single best move you can make after picking the right format. The how-to-convert-images-to-webp-without-losing-quality article walks through presets, batch export tips, and how to preserve color fidelity while shaving bytes. We recommend keeping a master folder in your CMS with both source JPG/PNG and the WebP cousin for browsers that support it.
To convert without waiting on Photoshop, drop the assets into the JPG to WebP tool (or the PNG to WebP converter if you are working with graphics). That tool immediately shows you the byte savings and lets you download the optimized version without stepping out of the browser.
How to crop images properly
Cropping is an act of storytelling. The wrong crop removes context, while the right one focuses attention. Read How to crop images online without losing quality to see how professional editors choose aspect ratios, rule-of-thirds guides, and preview features.
After deciding the frame, use the Image Cropper to lock crop boxes, preserve resolution, and download exactly what you need. That way you avoid over-cropping (which reduces pixel density) or under-cropping (which leaves irrelevant borders) and still comply with SEO-friendly aspect ratios for listings and social thumbnails.

How to reduce image size
Compressing an image is not about just “making it smaller” — it is about hitting the sweet spot where quality loss is imperceptible. Our How to reduce image size for website article prioritizes the three pillars of compression: choosing the right encoder, setting quality sliders mindfully, and validating the final file in your staging environment.
Pair those learnings with the Image Compressor to iterate on setting values (e.g., 70–85% quality for JPGs or 80% quality for WebP) and to compare before/after results. Always version control both the original high-res and the compressed file so you can revert if a future hero needs a larger canvas.

Wrap-up
Stick to this summary flow; when you need depth, follow the linked long-form articles, and when you need speed, open the accompanying tools. By keeping your media stack lean, your site will load faster, your rankings will stabilize, and your visitors will not abandon a page before it paints.